Logo Instruction Center
  • Login
  • Sign up
  • Forums
  • Store
  • Blog

Mini Guitar Amp

A Mini Guitar Amp Using The LM386 IC
Steps
  1. Overview
  2. Step 1: Drilling Holes
  3. Step 2: Installing Hardware
  4. Step 3: Building The Circuit
  5. Step 4: Insulation
  6. Step 5: Soldering Components
  7. Step 6: Rock Out!

Add To Favorites
Categories
DIY Projects, Learning Projects
Created by takide
Status: Active
7393af6088c4f20303cc19ad007f616e?s=30

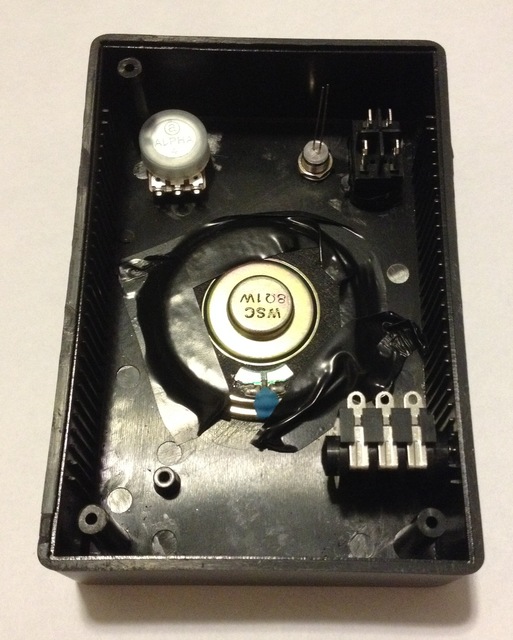
Step 2: Installing Hardware Step 3 of 7

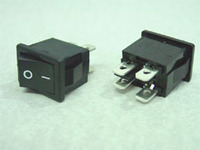
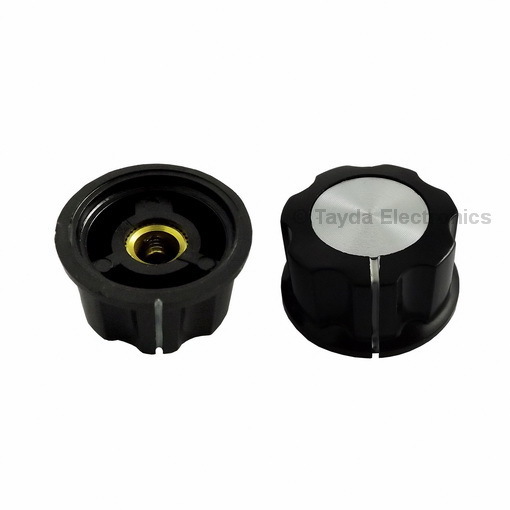
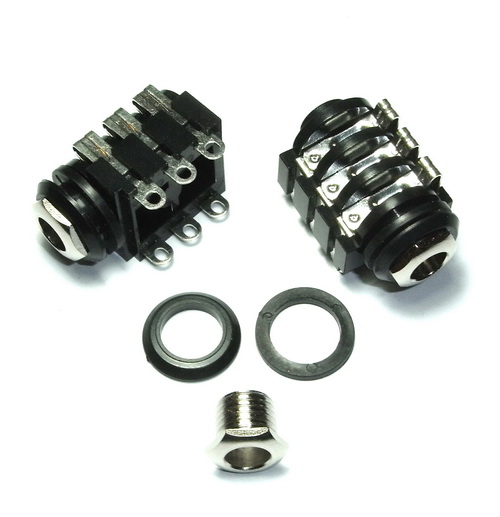
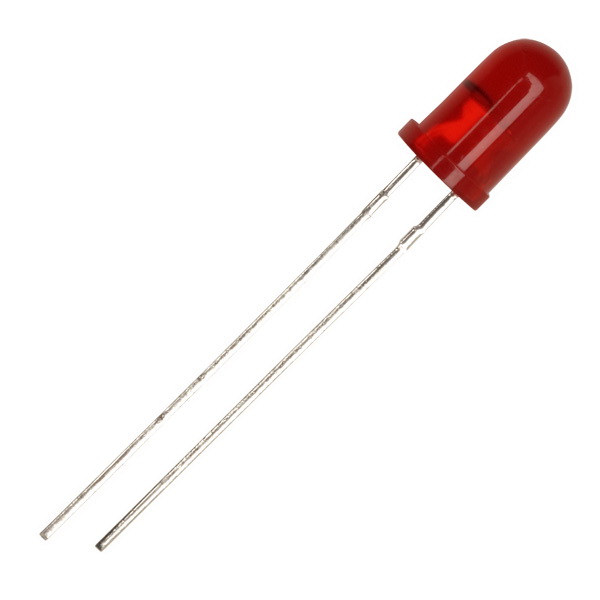
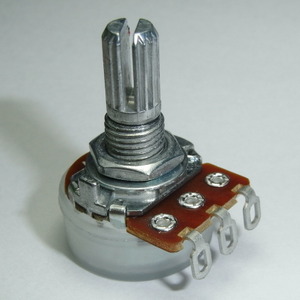
Next, I placed the potentiometer, LED holder, rocker switch, 1/4" audio jack, and speaker in their spots inside the case. I used some electrical tape to keep the speaker in place, but hot clue or other tape will work too. I also put the red LED into the LED holder so that it would be easier to solder later. 

Here is the case with the hardware in place:


Amp-hardware-2

Next Page >>
<< Prev Page

Products

Pdip-8_154 LM386 LM386L Audio Power Amplifier IC

A-4117_2 Mylar Speaker 8 OHM 1W

A-870-a 9V 9-Volt Battery Clip / Connector Snap

R9d2kkft00f1_2 Rocker Switch Black ON/OFF DPST 6A 250VAC Panel Mount, Snap-In

A-1006_2 Boss Style Silver Top Black Knob 27mm

A-660_4 5mm Bezel LED Holder Chrome Metal

A-1123 6.35mm 1/4" Stereo Insulated Switched Socket Jack Solder Lugs

A-1554 LED 5mm Red Super Bright

Volume-solder_8_2 10K OHM Linear Taper Potentiometer with Solder Lugs

R-carbon5_873 470 OHM 1/2W 5% Carbon Film Resistor

Mylar-1_100 47nF 0.047uF 100V 5% Mylar Film Capacitors

A-4514-r_3 100uF 16V 105C Radial Electrolytic Capacitor 5x11mm

A-4518-r_3_3 10uF 100V 105C Radial Electrolytic Capacitor 6x11mm

2023 © Tayda Electronics