Logo Instruction Center
  • Login
  • Sign up
  • Forums
  • Store
  • Blog

PIC Board

Make your own PIC development board with ICSP
Steps
  1. Overview
  2. What is and where is on board?
  3. Assembled board
  4. Make headers
  5. Schematic and PCB
  6. Full parts list

  • View Attachments
Add To Favorites
Categories
DIY Projects, Learning Projects
Created by Saša
Status: Active
28045c36beba6805c11cc2827225fa85?s=30

Make headers Step 4 of 6

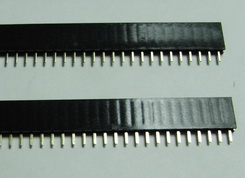
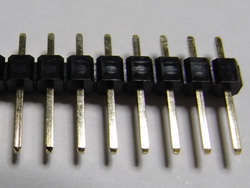
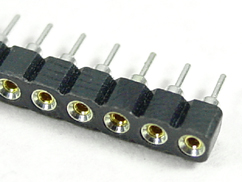
I use a scalpel to cut the standard 40 pins single female header to required number of pins. While doing that, some pins are going to be destroyed. Watch yours fingers!

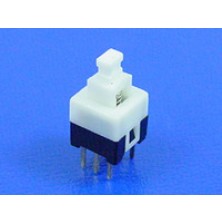
The 40 Pin DIP SIP IC sockets adaptor solder type is easy to break with needle nose pliers or related tools.


Next Page >>
<< Prev Page

Products

A-4118_2 DC Power Jack 2.1mm Barrel-Type PCB Mount

To-220-3-a_160 LM7805 L7805 7805 Voltage Regulator IC 5V 1.5A

A-4538-r_3 100uF 35V 105C Radial Electrolytic Capacitor 6x11mm

A-330 PUSH BUTTON SWITCH LATCHING DPDT 0.5A 50VDC 6x6mm

A-866 PUSH BUTTON SWITCH MOMENTARY DPDT 0.5A 50VDC 6x6mm

1x40-single-female_2 40 Pin 2.54mm Single Row Female Pin Header

1x40-single-pin-header_2 40 Pin 2.54mm Single Row Pin Header Strip

Sip_socket_2 40 Pin DIP SIP IC Sockets Adaptor Solder Type

A-1870 5K OHM Linear Taper Potentiometer Round Knurled Plastic Shaft PCB 9mm

A-5162_2 Copper Clad Board PCB Single Side 6x6" Phenolic

R-metal-film-1_354 1K OHM 1/4W 1% Metal Film Resistor

R-metal-film-1_357 10K OHM 1/4W 1% Metal Film Resistor

R-metal-film-1_345 5.1K OHM 1/4W 1% Metal Film Resistor

2025 © Tayda Electronics