Status: Active

Burning the bootloader with another Arduino Step 5 of 5
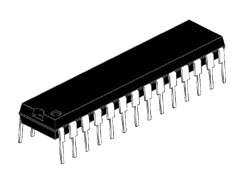
So you have an Arduino already and you went ahead and bought an ATmega328P-PU hoping to breadboard an Arduino but you realized it doesn't have the right bootloader burnt!
No matter how hard you try a sketch just will not upload onto the ATmega328P without the Arduino bootloader. The solution is to use your other Arduino as an AVR ISP, an In-System Programmer.
This is not as hard as it sounds.
You can use any Arduino that is Uno Compatible. In this example I am going to use an Uno R3. But you could use:
1. Arduino Pro Mini
2. Arduino Micro
3. Arduino Pro
4. Arduino Nano
5. A Mega works too but you must switch pins 10, 11, 12, 13 to pins 53, 51, 50, 52 respectively.
as valid ISP.
Shown below is the breadboarduino that we have already made with the Arduino Uno R3.
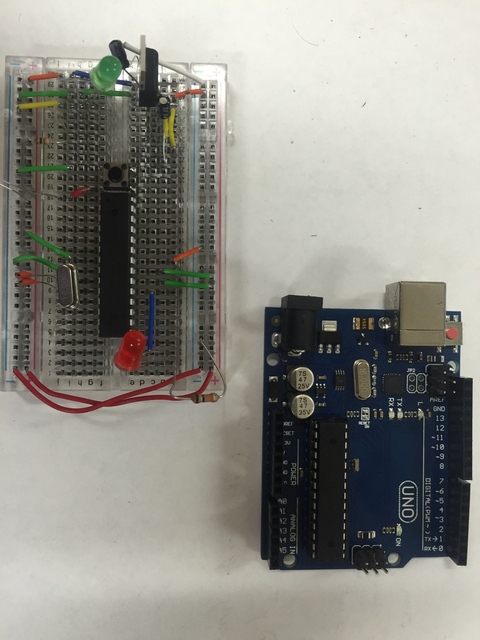
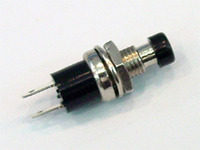
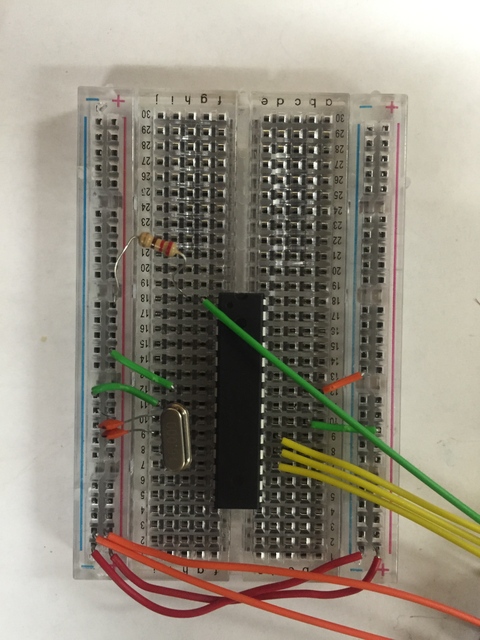
Now, unfortunately we have to remove the superfluous parts of our breadboarduino for the moment. This mean removing the LED on pin 19. As well as the reset button on pin 1. The 5V from the Arduino Uno R3 is regulated properly and can be used for the programmer. So you should remove the 5V regulator. The things that need to stay are as follows:
Pin 1 -> +5V via a 10K Ohm resistor
Pin 7 -> +5V
Pin 8 -> Ground
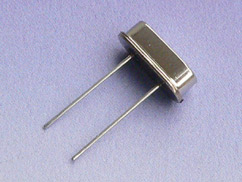
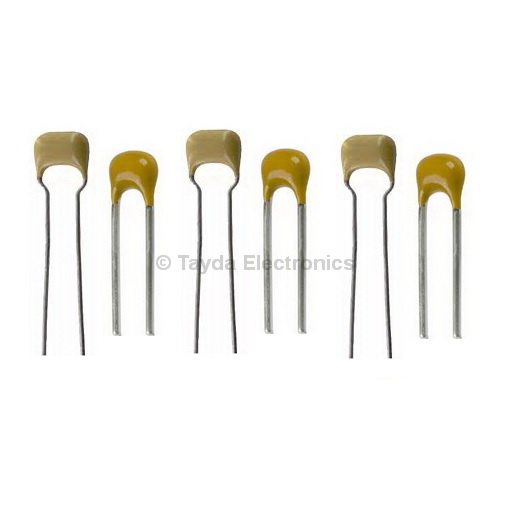
Pin 9 -> 16.00MHz Crystal grounded via a 22pF Cap
Pin 10 -> The other side of the 16.00MHz Crystal grounded via a 22pF Cap
Pin 20 -> +5V
Pin 22 -> Ground
What your breadboard should look like now:

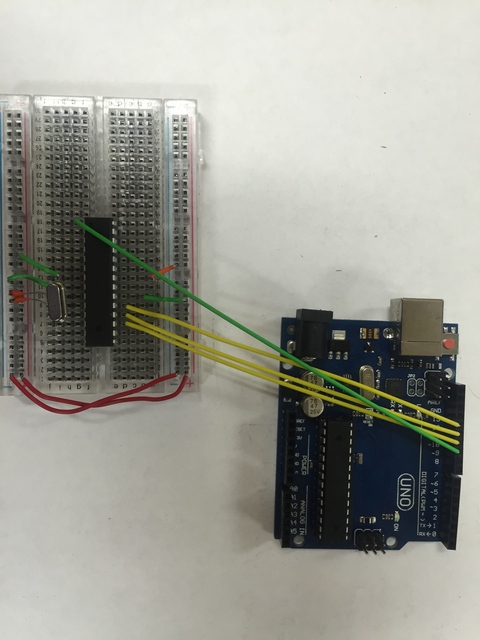
Now we need to add the connections from the Arduino Uno R3 to the breadboard.
Arduino Uno R3 -> ATmega328P
Pin 1 -> Pin 10
Pin 11 -> Pin 17
Pin 12 -> Pin 18
Pin 13 -> Pin 19
5V -> +5V rail
GND -> ground rail
Thats it!

Now that everything is all wired up, we need to plug in the Arduino R3 via a USB cable and select the ArduinoISP example program. In the Arduino IDE this is File -> Examples -> ArduinoISP.
In the Arduino IDE you must select the proper board. Under Tools -> Board select the type of board you are targeting. This is the board that is on the breadboard. For an ATmega328P you should select the Arduino Uno.
Other board options include:
- - Arduino/Genuino Uno
- An ATmega328 running at 16 MHz with auto-reset, 6 Analog In, 14 Digital I/O and 6 PWM.
- - Arduino Diecimila or Duemilanove w/ ATmega168
An ATmega168 running at 16 MHz with auto-reset. - - Arduino Nano w/ ATmega328
An ATmega328 running at 16 MHz with auto-reset. Has eight analog inputs. - - Arduino/Genuino Mega 2560
An ATmega2560 running at 16 MHz with auto-reset, 16 Analog In, 54 Digital I/O and 15 PWM. - - Arduino Mega
An ATmega1280 running at 16 MHz with auto-reset, 16 Analog In, 54 Digital I/O and 15 PWM. - - Arduino Mega ADK
An ATmega2560 running at 16 MHz with auto-reset, 16 Analog In, 54 Digital I/O and 15 PWM. - - Arduino Leonardo
An ATmega32u4 running at 16 MHz with auto-reset, 12 Analog In, 20 Digital I/O and 7 PWM. - - Arduino Micro
An ATmega32u4 running at 16 MHz with auto-reset, 12 Analog In, 20 Digital I/O and 7 PWM. - - Arduino Esplora
An ATmega32u4 running at 16 MHz with auto-reset. - - Arduino Mini w/ ATmega328
An ATmega328 running at 16 MHz with auto-reset, 8 Analog In, 14 Digital I/O and 6 PWM. - - Arduino Ethernet
Equivalent to Arduino UNO with an Ethernet shield: An ATmega328 running at 16 MHz with auto-reset, 6 Analog In, 14 Digital I/O and 6 PWM. - - Arduino Fio
An ATmega328 running at 8 MHz with auto-reset. Equivalent to Arduino Pro or Pro Mini (3.3V, 8 MHz) w/ ATmega328, 6 Analog In, 14 Digital I/O and 6 - PWM.
- - Arduino BT w/ ATmega328
ATmega328 running at 16 MHz. The bootloader burned (4 KB) includes codes to initialize the on-board bluetooth module, 6 Analog In, 14 Digital I/O and - 6 PWM..
- - LilyPad Arduino USB
An ATmega32u4 running at 8 MHz with auto-reset, 4 Analog In, 9 Digital I/O and 4 PWM. - - LilyPad Arduino
An ATmega168 or ATmega132 running at 8 MHz with auto-reset, 6 Analog In, 14 Digital I/O and 6 PWM. - - Arduino Pro or Pro Mini (5V, 16 MHz) w/ ATmega328
An ATmega328 running at 16 MHz with auto-reset. Equivalent to Arduino Duemilanove or Nano w/ ATmega328; 6 Analog In, 14 Digital I/O and 6 PWM. - - Arduino NG or older w/ ATmega168
An ATmega168 running at 16 MHz without auto-reset. Compilation and upload is equivalent to Arduino Diecimila or Duemilanove w/ ATmega168, but the - bootloader burned has a slower timeout (and blinks the pin 13 LED three times on reset); 6 Analog In, 14 Digital I/O and 6 PWM.
- - Arduino Robot Control
An ATmega328 running at 16 MHz with auto-reset. - - Arduino Robot Motor
An ATmega328 running at 16 MHz with auto-reset. - - Arduino Gemma
An ATtiny85 running at 8 MHz with auto-reset, 1 Analog In, 3 Digital I/O and 2 PWM. - - Arduino Yùn
- An ATmega32u4 running at 16 MHz with auto-reset, 12 Analog In, 20 Digital I/O and 7 PWM.
So select Arduino Uno and then you need to select the proper USB port under Tools -> Serial Port then upload the sketch. Next select the programmer under Tools -> Programmer -> Arduino as ISP. Finally under tools select Burn Bootloader which is under Tools -> Burn Bootloader An easy way to verify it worked is to switch the ATmega328P from the arduino and the breadboard, and make sure the blink sketch runs on the Arduino Uno R3 with the newly burned bootloader.
I did notice that sometimes the Blink example program did not start unless I uploaded the sketch after I burnt the bootloader, even though it should be part of burning the bootloader. So don't give up until you try to upload a sketch.
If Burning the Bootloader is successful you should see this status: